2) IAM Users & Groups Hands On– AWS Certified Solutions Architect Associate Course SAA-C02-Section 1: IAM & AWS CLI- Okay, so let’s explore the IAM console. So for this I’m going to type “IAM”
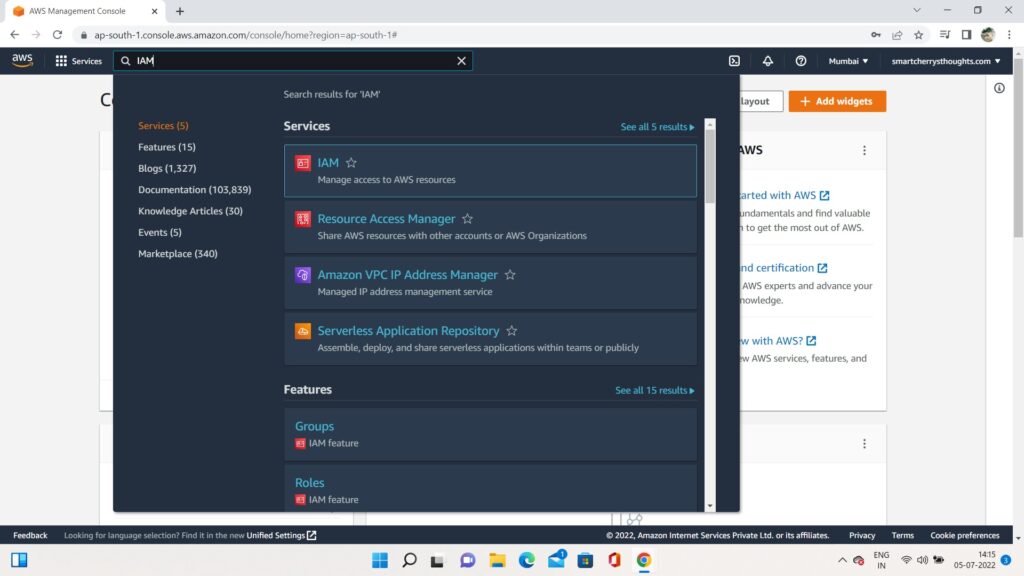
- And this will take me straight to a console of an AWS service called IAM.
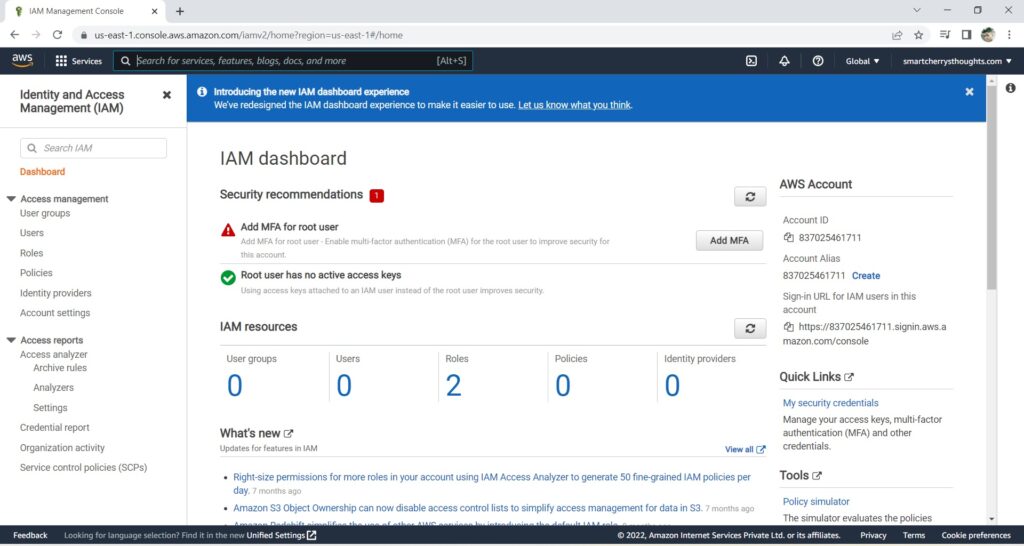
- So the first thing we notice, is that on the top right corner, it shows “Global”,
- which means IAM doesn’t require region selection.
- what this means is that IAM is a global service,
- whereas many other AWS services will be regional services.
- and there will be a region selection.
- But for IAM, users and groups are created in a global fashion.
- Okay. So we are in the IAM dashboard.
- And the first thing we want to do is to create an IAM user.
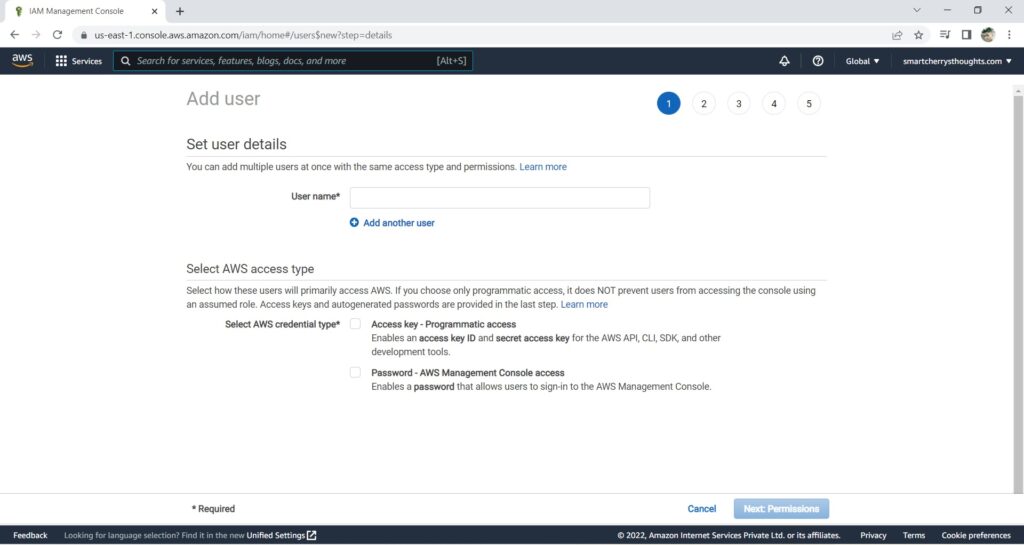
- So I’m going to go under “Users” and click on “Add users”

- So why do we want to create a user?
- Well, as we can see, if you click on account name name right here,
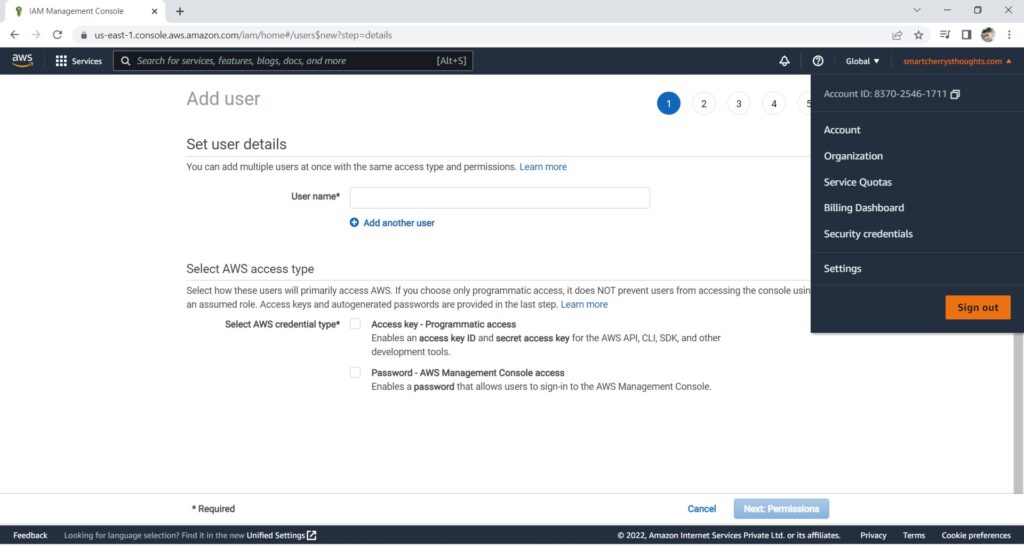
- we are using the root user.
- The root user has all the permissions
- you want in your account okay?
- It can do anything you want.
- But therefor it’s a very dangerous account to use.
- The better way is to create a administrator account
- that we’re going to crate right now.
- And this admin account will be able to do everything
- the root account does or almost,
- and we will let the root go.
- and we use the root account
- only if we really, really ever need to.
- This is from a security perspective, the best setup.
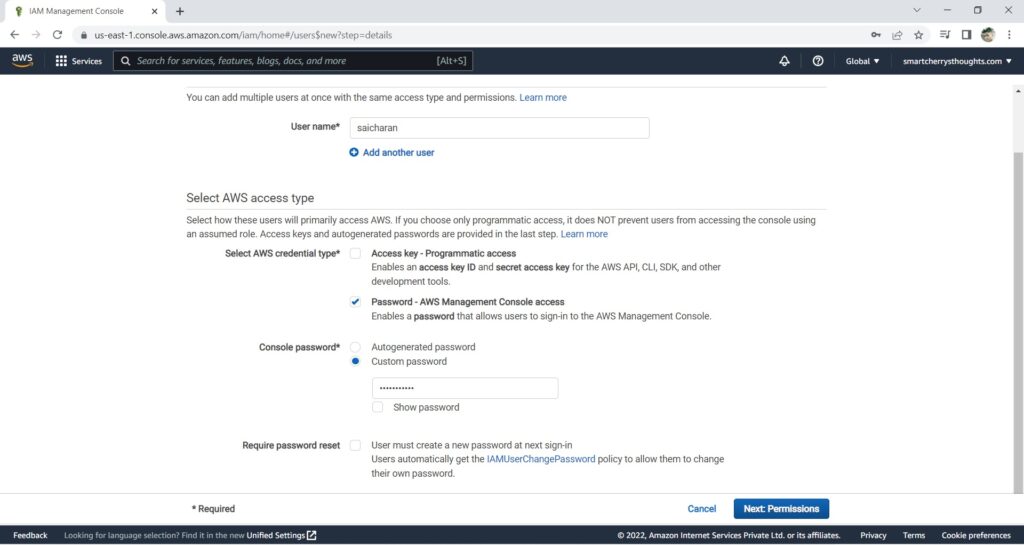
- So as we can see, we’re going to create a username
- and that one is going to be “saicharan”
- and then we need to select the credential type.
- so we’ll enable the password type of credential
- and we can autogenerate it or create a custom password.
- And because this is my own account,
- I can just set a custom password and be done with it.
- So we dont require a password reset,
- and then we click on “Next: Permissions”.
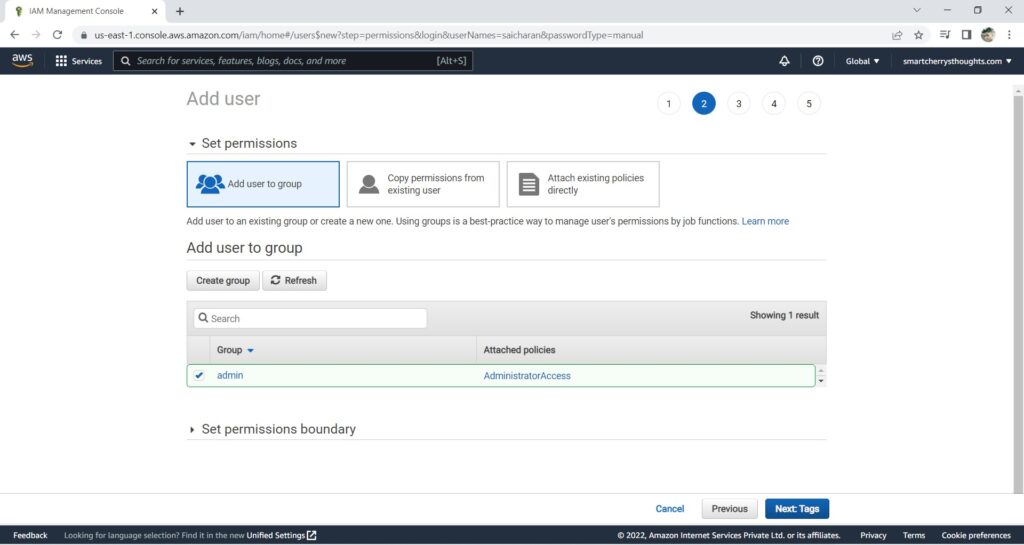
- Now, we need to add the user into a group.
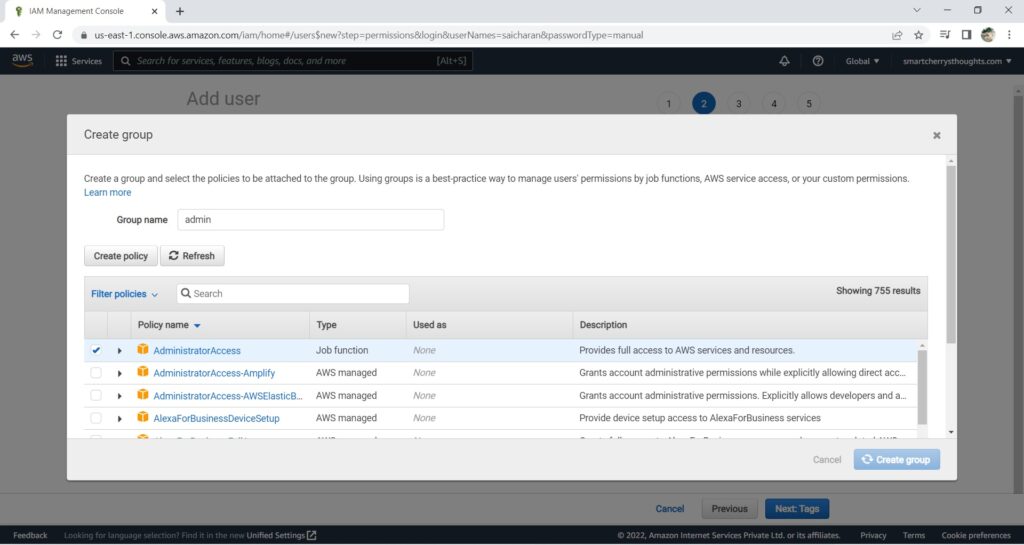
- So we’re going to create a group by Clicking on “Create group”
- and this group is going to be called “admin”
- Now, any user placed within the group “admin”
- will inherit the permission associated with that group.
- And so permissions are defined through policies.
- And the one policy we’re going to attach to the “admin” group is called “AdministratorAccess”
- So this policy will allow any account under this group.
- to be an administrator of your account.
- So let’s go ahead and create this group.
- And next click on “Next: Tags”
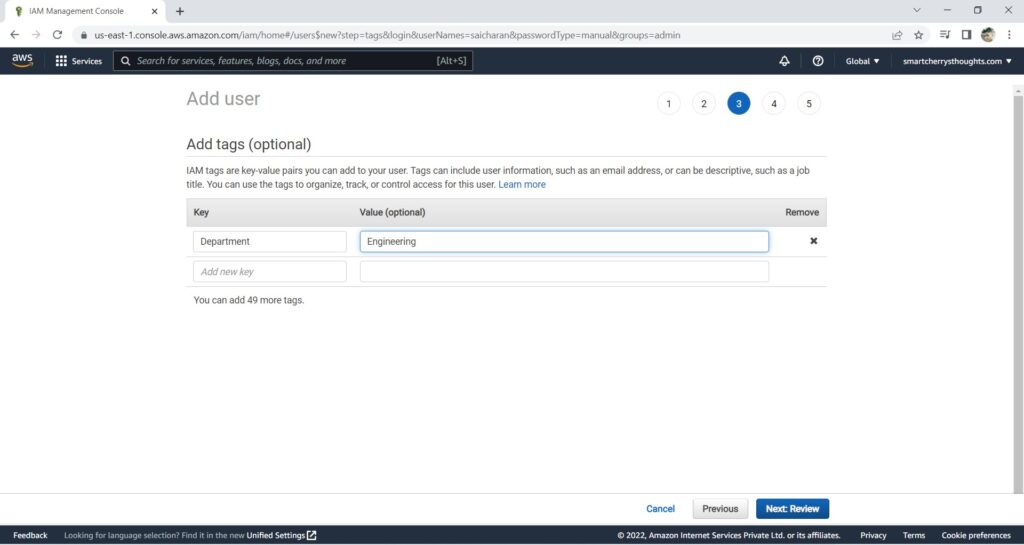
- So in AWS, you will find tags pretty much everywhere.
- And they’re just information that can help you track, organize or control access for users.
- And so we’re not going to create tags everywhere.
- for our course, okay?
- But what I can show you is how to create a tag for our user.
- And this is just information you want to add
- regarding that specific user, okay?
- So for example, I can say that the “Department” of my user
- is “Engineering”
- And you can have any tags you want on many resources in AWS.
- Im just showing you how to do it once.
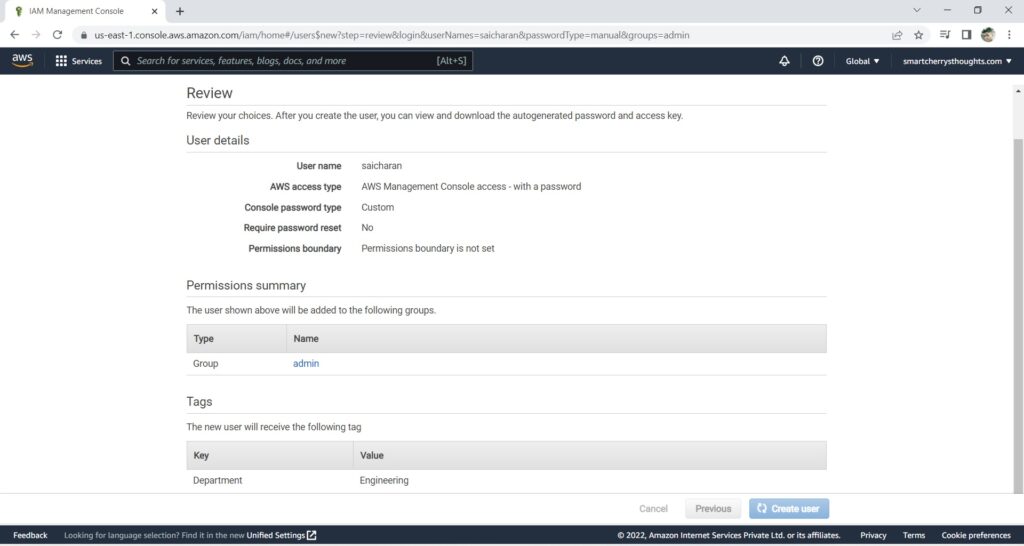
- Now let’s click on “Review”
- So we’ve create a username “saicharan”
- with password access to the Management Console.
- And then the group it belongs to, is the “admin” group.
- And the tags is “Department: Engineering”.
- So lets go ahead and create this user.
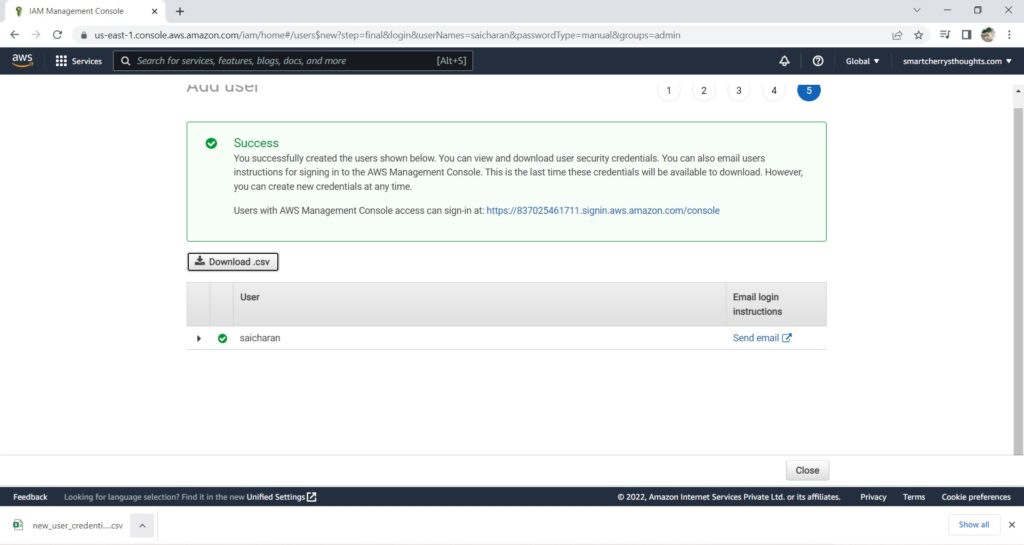
- And now the user is created.
- So before we go there, you need to download the .csv
- especially if you autogenerated a password.
- So this “Download .csv”
- will have the credentials of your users contained within it.
- and you can also email login instructions.
- to a specific email if you’re creating a user.
- for someone else.
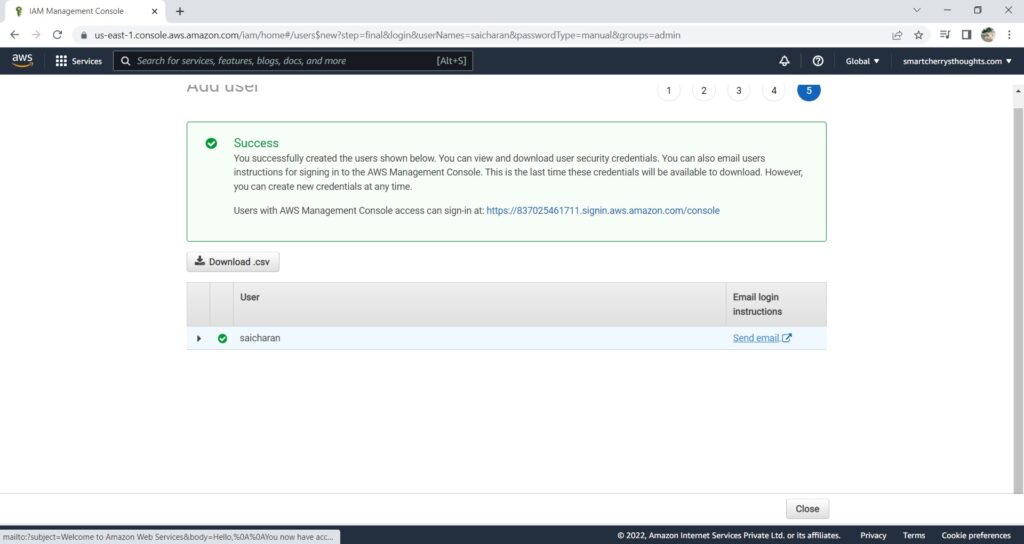
- But this is our own user, so are we good to go.
- So we’ll close this
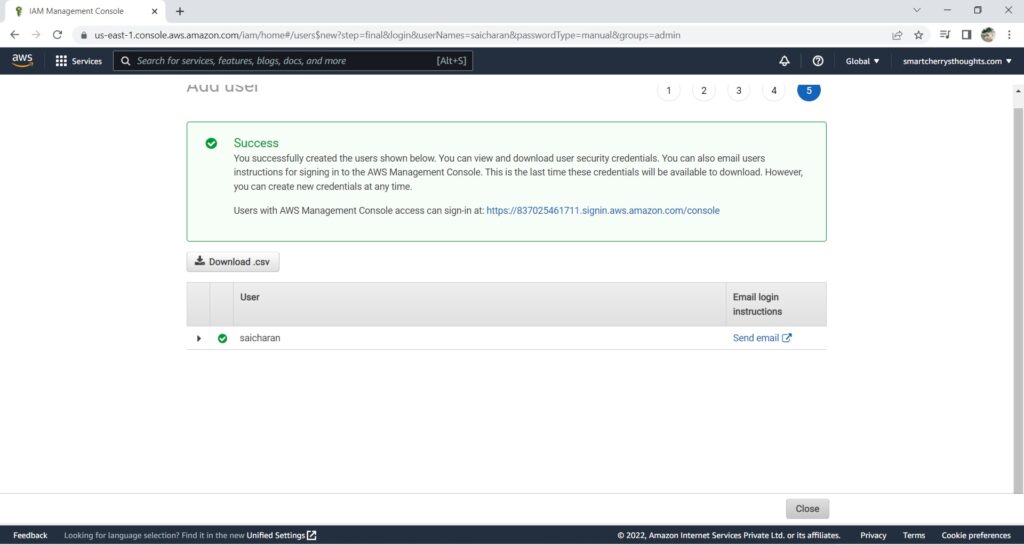
- now let’s explore what we have created.
- So under user groups, I will find the group admin, click on it.
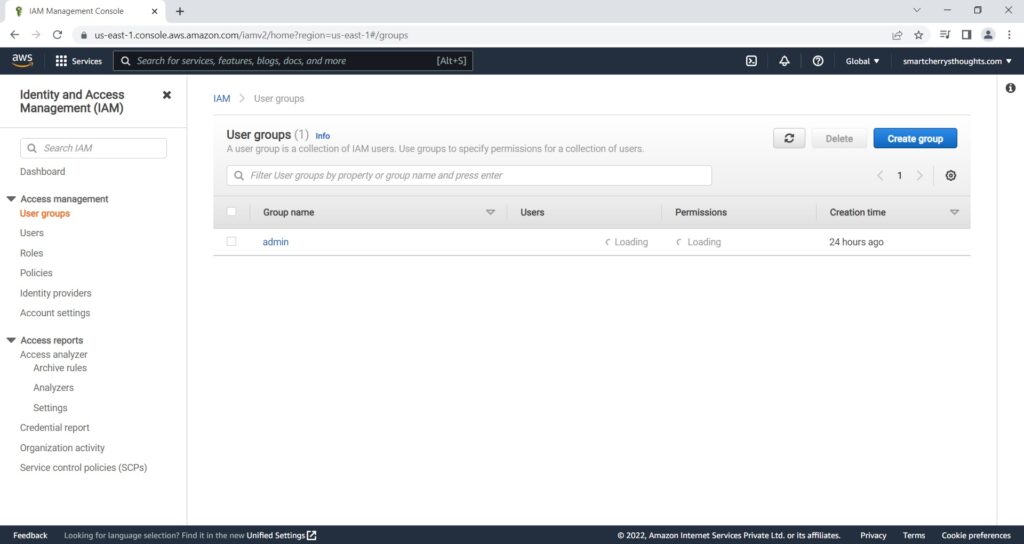
- I can see that there’s one user in this group,
- which is “saicharan” user
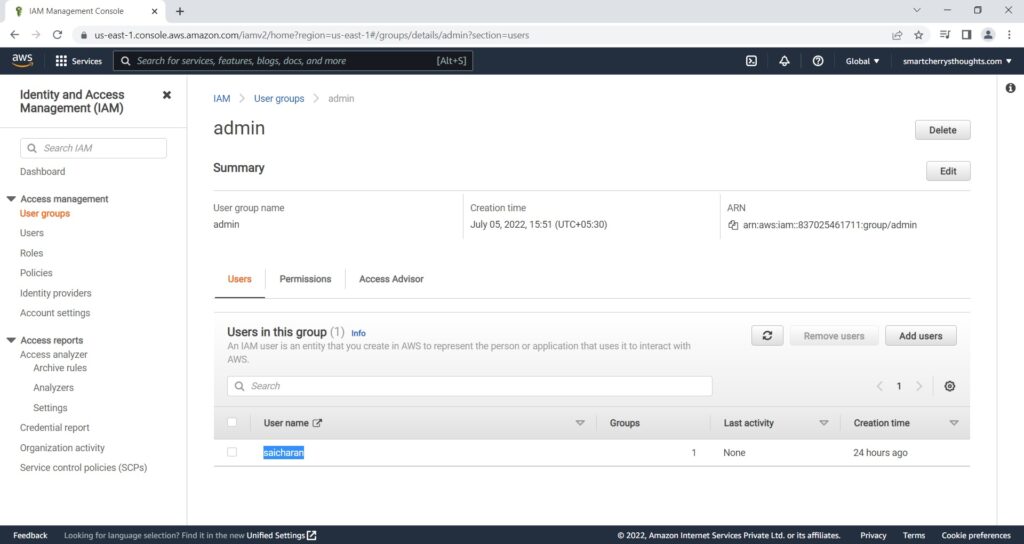
- And if i look at the group permissions, as we can see,
- there is a policy name attached to the group which is “AdministratorAccess”
- which provides full admin access to any users within the group
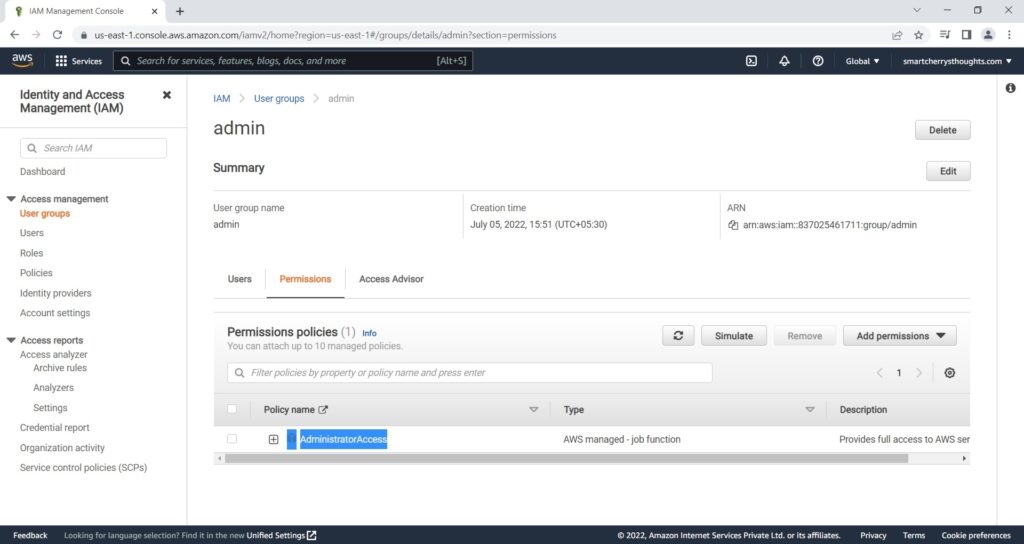
- And so if we go to users and click on the user “saicharan”
- So this is a user.
- You can also get back from this menu on the left-hand side
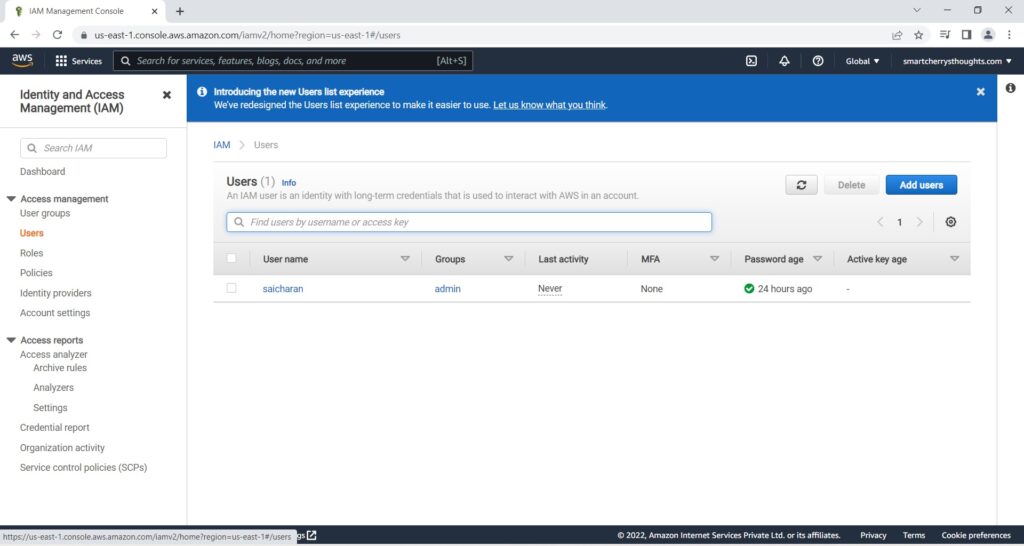
- and just click on “Users > saicharan”
- okay
- So if you click on the user “saicharan” back to it
- ok, great.
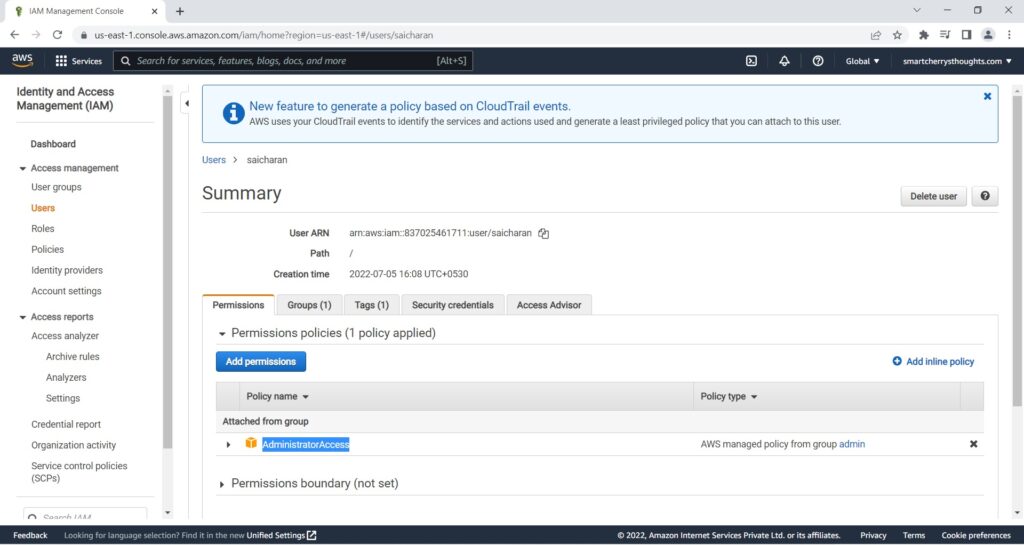
- We have these permissions and the permissions associated with my user is “AdministratorAccess”
- And this is a managed policy that we inherited from the group admin.
- okay?
- So we have our users and we have our groups.
- And now we’re going to see how to log in with that use, “saicharan”
- So to do so let’s go back into the dashboard.
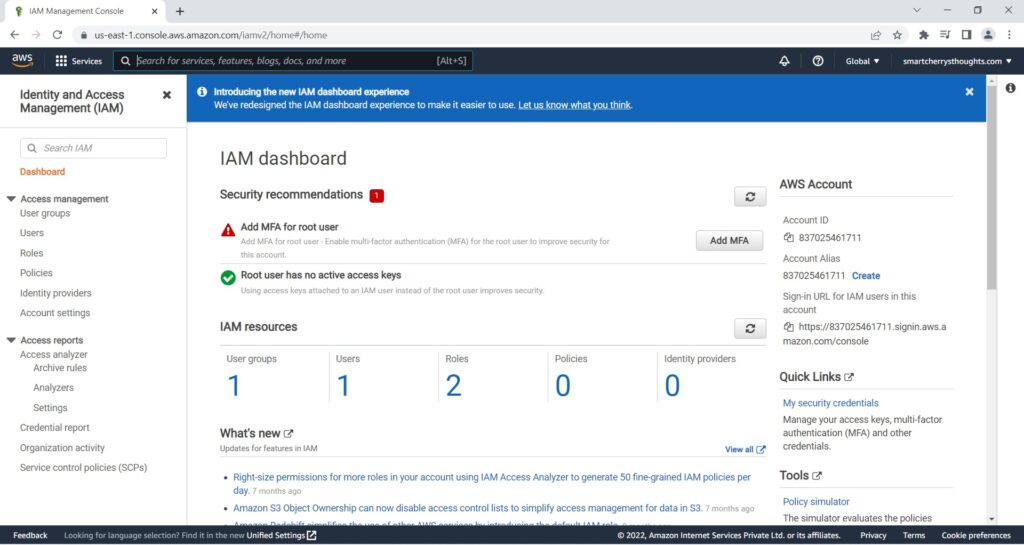
- and on the right-hand side of the dashboard,
- we have some summary about our AWS account.
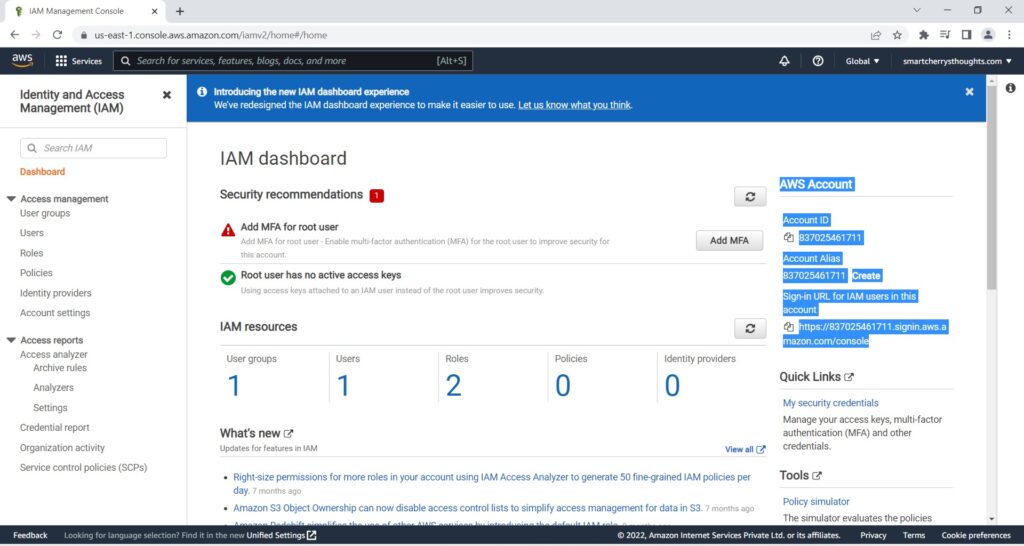
- So the account ID is right here,
- which can also get to by opening this panel.
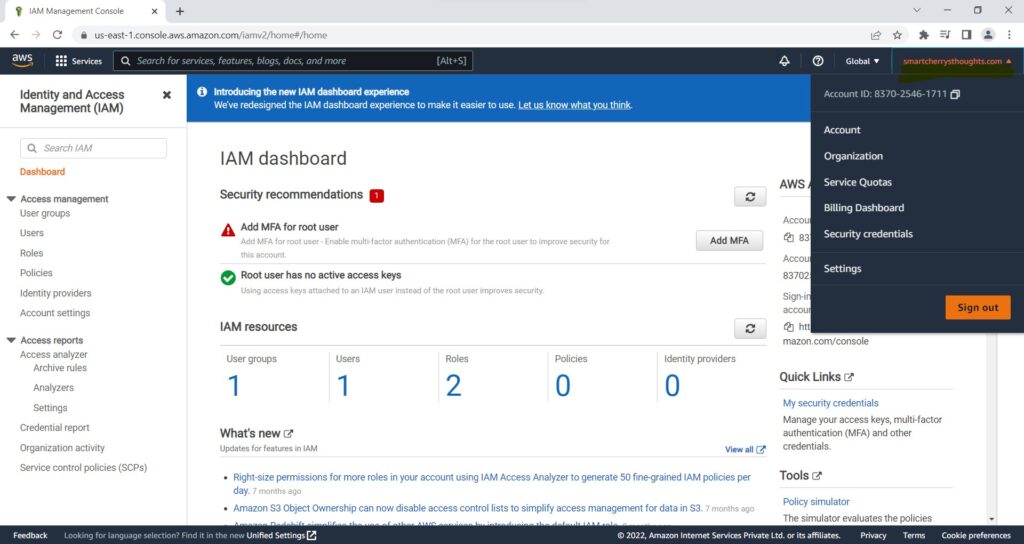
- So this is the same account ID here, and here
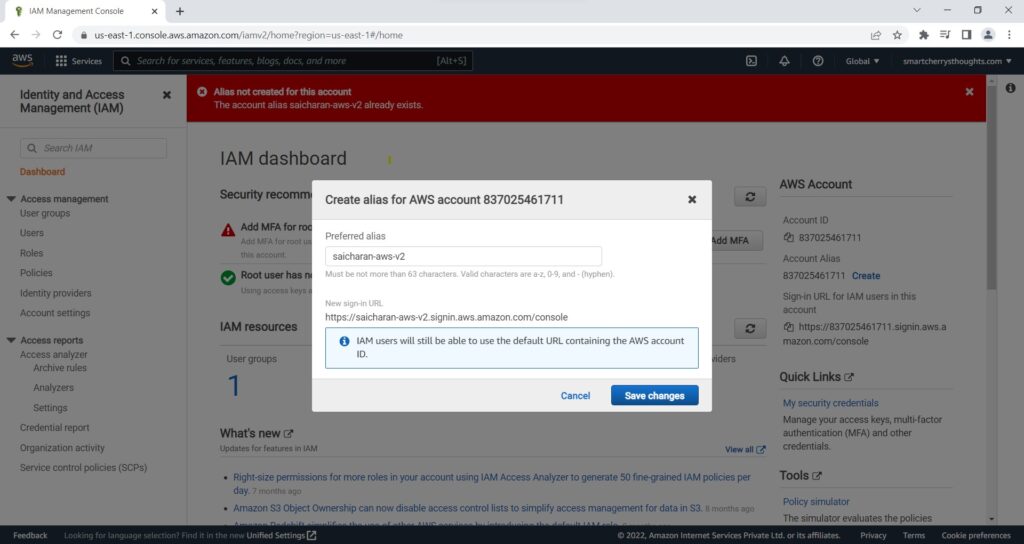
- And the account alias is what you can set
- to log in to your account faster,
- because remembering numbers sometimes is difficult.
- So you can create an account alias,
- and you just have to specify an alias that you like.
- For example, “saicharanpaloju-aws-v2”.
- and click on ” Save changes”
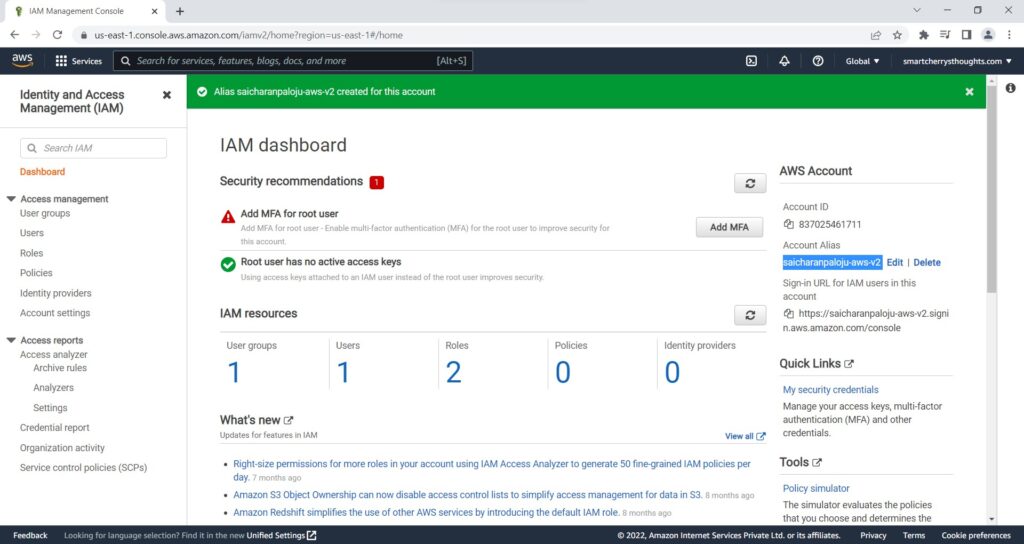
- Now, this is a unique alias for my account.
- You’re not going to be able to use this account,
- this alias for your account, but you can create your own.
- And now we have a sign-in URL on the right-hand side
- that is customized for my alias.
- So if i click on “Copy this URL”
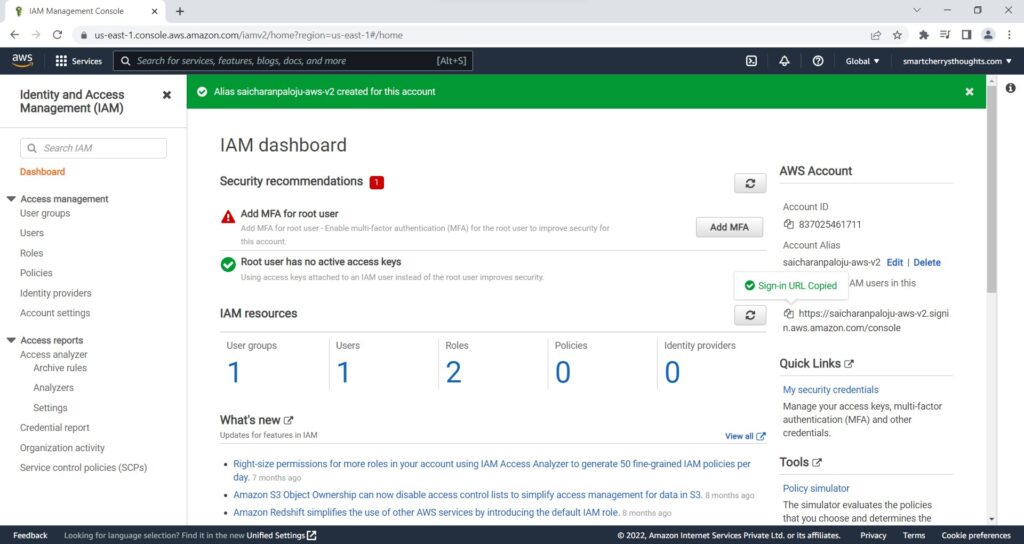
- I Need to Open it in a new tab,
- But it must be an incognito tab or a different web browser.
- So here I’ve opened a private window in Firefox.
- which is going to be a different session.
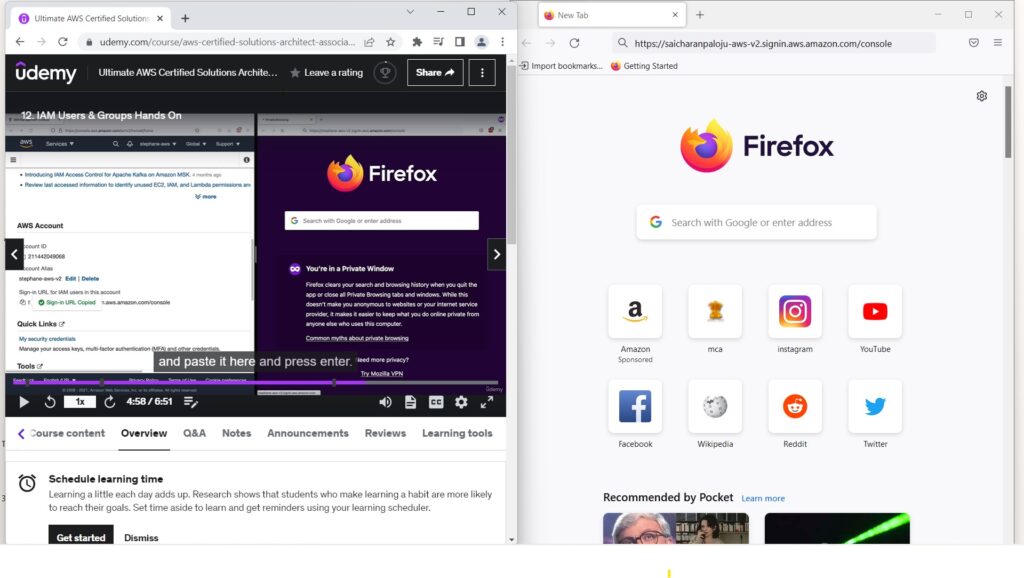
- And so therefore I Can copy the sign-in URL
- and paste it here and press enter.
- Now we are taken again to the login page of AWS.
- And as we can see, we have three fields.
- We have the “Account ID”, the “IAM user name”
- and the password.
- So what’s happening here, is that we, using this URL,
- are taken to a sign-in page as an IAM user.
- And how do we know this?
- How can we get back to this page if we wanted to?
- Well, when we went into the Sign in”, we had two options,
- either “Root user”, which will log you in as a root user,
- or ” IAM user”, in which case you just need to enter the account ID or the account alias
- and then click on “Next”,
- which will take you into the page that we had from before,
- which was this page right here.
- So now in this page, what I need to do
- is to enter my IAM username and the password.
- that i just created
- And then click on ” Sign in”.
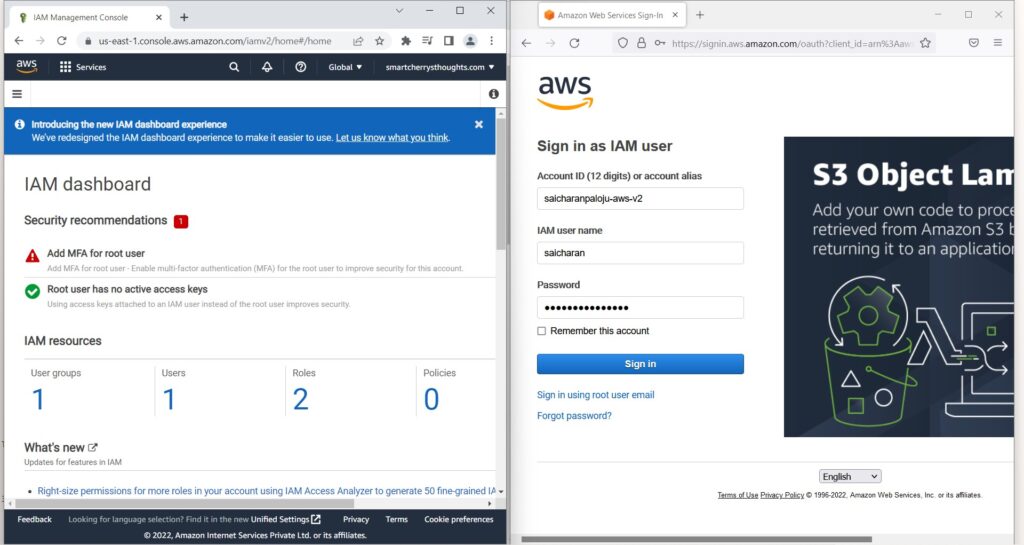
- And we are now logged in as IAM user in the console.
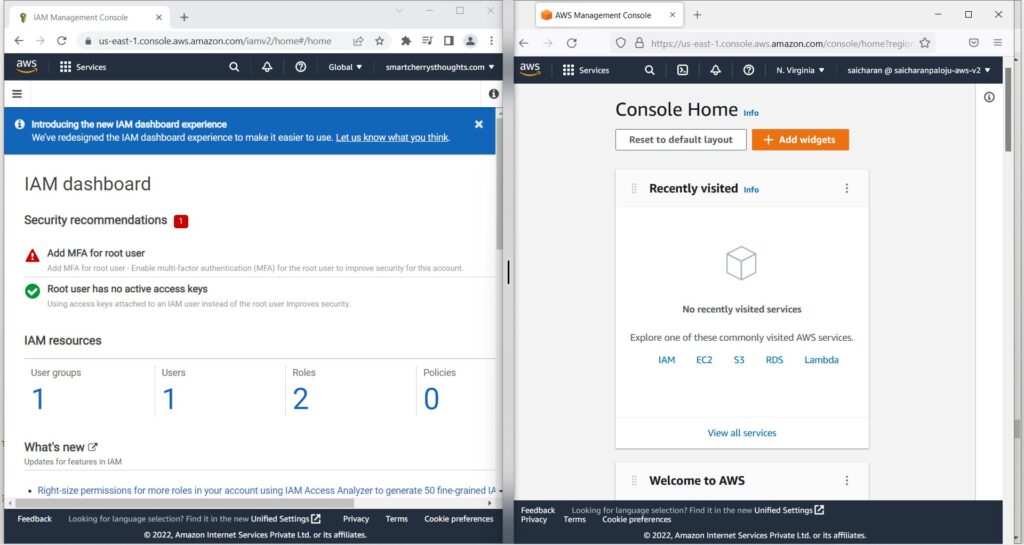
- So how do we know this?
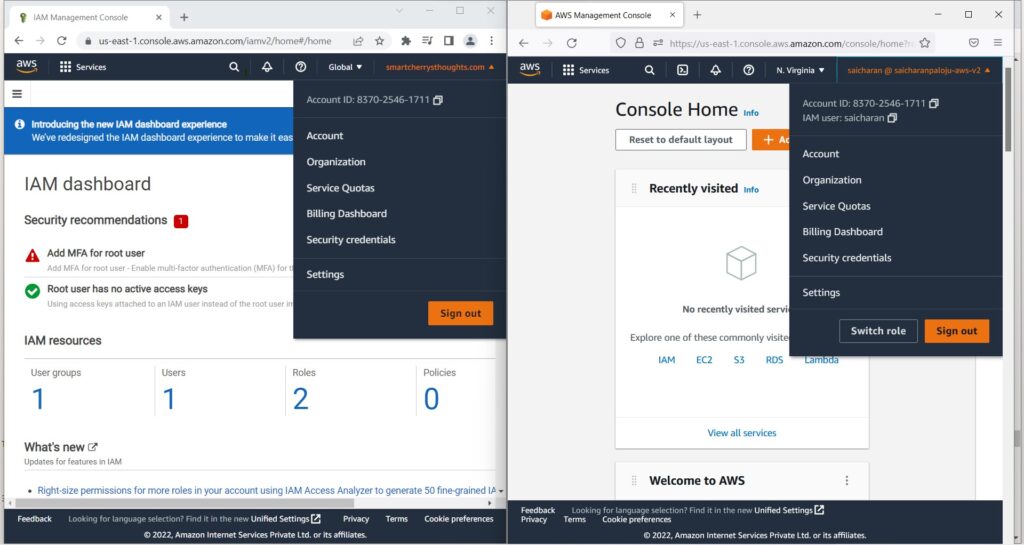
- Well, if you’re logged in as your user,
- as you can see when you click on the account,
- it says “My account” and the account number.
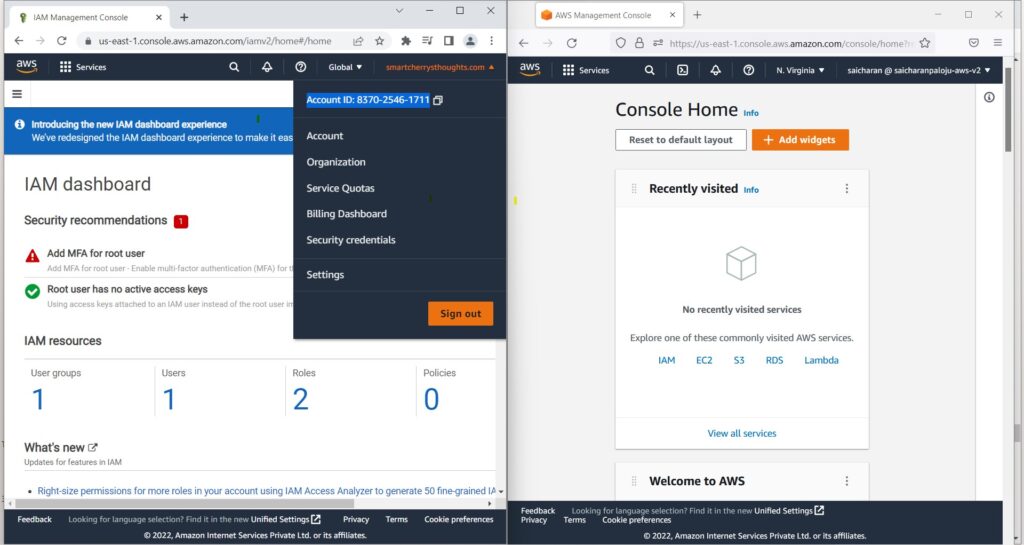
- This is a root user.
- But if you go on the right-hand side,
- we can see that there’s “saicharan @” and the then account alias.
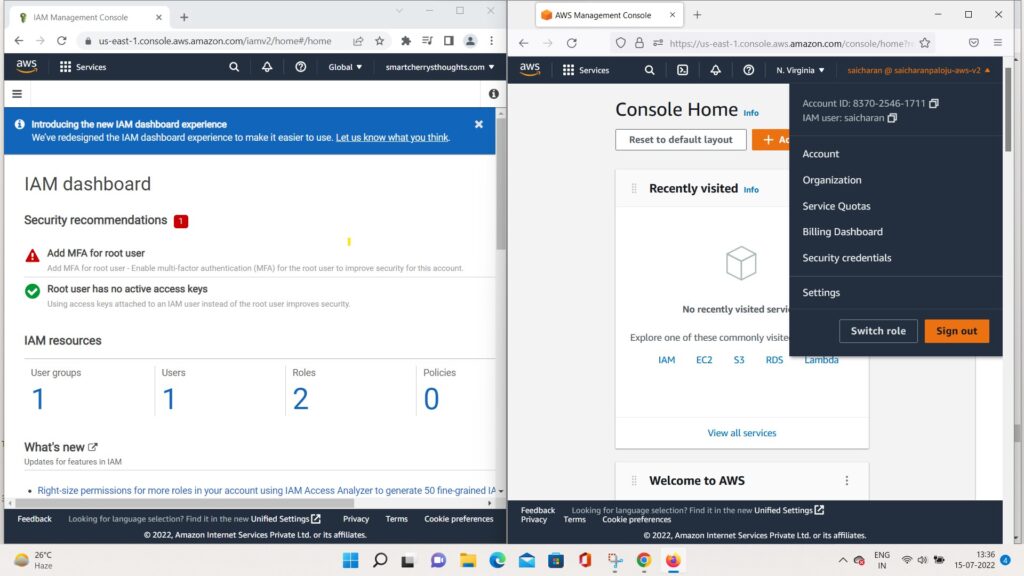
- And so what we can see is that “saicharan”
- is the IAM user “saicharan” and then “My Account”
- and the account number.
- So we know on the right-hand side,
- that we’re logged in as an IAM user.
- Now this IAM user can do pretty much anything.
- that the other user was able to do, the root user.
- because they’re both admins, okay?
- But rom a course perspective, it’s better
- if you use an IAM user, than using the root account.
- Now you will see in some topics, i have the root user,
- and some topics, i have the IAM user.
- It doesn’t really matter from the course perspective, okay?
- So i will use them as I Please.
- But if i need to use the root user specifically,
- i will let you know.
- Or if I Need to use an IAM use specifically,
- I will let you know as well, okay?
- But just so you know, to keep on doing to this section,
- please have the root account,
- as well as your IAM user ready and available.
- So that’s it for this lecture. I hope you like it.
- And I will see you in the next lecture.


Reading your article has greatly helped me, and I agree with you. But I still have some questions. Can you help me? I will pay attention to your answer. thank you.
Can you be more specific about the content of your article? After reading it, I still have some doubts. Hope you can help me. https://www.binance.info/join?ref=GJY4VW8W